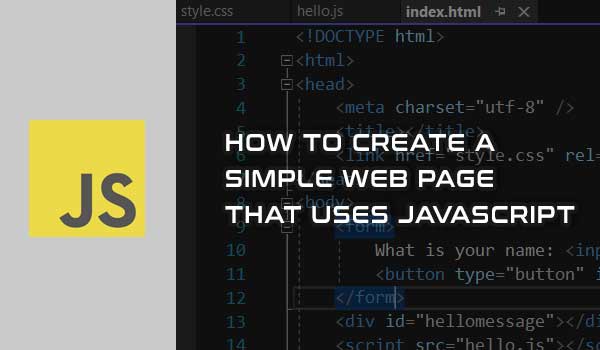
When trying to learn or improve JavaScript skills as a web developer, it's a good idea to start with the fundamentals before moving on to more complex frameworks and libraries like Reach or Vue. In this post, we will create a simple web page in which the user enters their name into an input field and the page greets the user after clicking on submit button.
The finished web page is available as CodePen example at the end of this article.
Requirements
The web page will consist of an HTML page, a JavaScript file, and a CSS stylesheet, so we don't need to install anything extra. All we need is a browser to run the webpage.
Even though we could use any text editor to create the necessary files, it's better to have a good code editor or IDE. For those with Visual Studio IDE already installed, check the create a JavaScript project in Visual Studio, and for a more lightweight code editor I suggest VS Code editor. For the Windows version, check THIS article for step-by-step instructions on how to install it and quick tips on how to use it.
Step 1 - Add code to the index.html file
The name of our HTML file should be index.html, which is the most common name used for a default page. This is the page that will be displayed in a browser when we run the project.
When an index.html file is created in Visual Studio, it will contain minimal HTML content as shown below.
<!DOCTYPE html>
<html>
<head>
    <meta charset="utf-8" />
    <title></title>
</head>
<body>
</body>
</html>
The <html> element is a root element. The <head> will contain the metadata used by browsers and search engines and is not displayed to the user, while the <body> element will contain a wide range of HTML elements visible to the user, like headings, paragraphs, lists, links, images, and so on.
Before we add our custom HTML code, let's first add references to JavaScript and stylesheet files.
Add links to JavaScript and stylesheet in index.html
Instead of adding JavaScript code directly to the index.html file, we will have a separate JavaScript file that must be referenced within index.html. Add the following code before the closing </body> tag.
<script src="hello.js"></script>
The same is true for CSS styling. Although we can add inline styling to index.html, it's better to have styles in separate stylesheet file. Add this code inside the <head></head> tag.
<link href="style.css" rel="stylesheet" />
We will create hello.js and style.css a bit later, but first, let's add our custom HTML elements to index.html.
Add custom HTML code
We will add an input field, a button, and a <div> placeholder that will be used for greeting message.
Add the following HTML code at the beginning of the <body> tag:
    <form>
        What is your name: <input type="text" size="20" id="myname" />
        <button type="button" id="mybutton">Submit</button>
    </form>
    <div id="hellomessage"></div>
Let's take a closer look at the code above:
Complete HTML code
This is the content of the index.html file that we end up with:
<!DOCTYPE html>
<html>
<head>
    <meta charset="utf-8" />
    <title></title>
    <link href="style.css" rel="stylesheet" />
</head>
<body>
    <form>
        What is your name: <input type="text" size="20" id="myname" />
        <button type="button" id="mybutton">Submit</button>
    </form>
    <div id="hellomessage"></div>
    <script src="hello.js"></script>
</body>
</html>
Let's move on to the JavaScript file.
Step 2 - Add JavaScript code to the hello.js file
Create the hello.js file and add the following code:
function ShowHelloMessage() {
    var name = document.getElementById("myname");
    document.getElementById("hellomessage").innerHTML = "Hello, " + name.value;
}
    document.getElementById("mybutton").onclick = ShowHelloMessage;
Here, we created a function named ShowHelloMessage (lines 1-4) and that function is then referenced in line 5. Let's take a closer look at this.
The "hello message" is displayed only when the button is clicked, but not when the enter key is pressed. Let's fix that next.
Add support for the "enter" key
There are several ways to add support for the enter key. Here is a quick solution that requires two small changes to the index.html:
- Inside our
<input>field, we add an onkeydown event and add some JavaScript code in it. This event fires up every time a user presses a key. The modified code for<input>would be as follows:The code within the onkeydown event checks if enter key (
keyCode == 13) has been pressed and if so, the click() method is called on our button. This method is used to simulate a click event. - We need to fix one more thing. If there is only a single input field in the <form>, then the click() method in the previous step simulates a "submit" click, which is not what we want as this will reload a page. To prevent this from happening, we can simply add another input field inside the <form> and hide it, like so:
Following these changes, simply pressing the enter key after typing a name should have the same effect as clicking the button.
Step 3 - Add some CSS styles
Now let's add some CSS styling to the page. Create a style.css file and add the following style rules:
body {
  font-size:1em;
  font-family:Arial;
  background:#eee;
}

#hellomessage {
  font-weight:bold;
}
Step 4 - Run the webpage
And we are done. If we run the web page (F5 for both Visual Studio IDE and VS Code), or simply run the index.html file from Windows Explorer, we should get the same functionality as the CodePen example below:
See the Pen
Very Simple JavaScript innerHTML Example by HowToSolutions (@HowToSolutions)
on CodePen.
Conclusion
In this post, we made a simple web page with JavaScript. The web page consists of an input field, a button, and a <div> placeholder. When a user enters a name into the input field and clicks the "Submit" button, a greeting message is placed in that placeholder. Even though the web page is pretty basic, it could be a good starting point to learn more about JavaScript.
