Visual Studio Code or VS Code for short is a very popular, free, and open-sourced code editor. This post will walk you through the process of installing VS Code on Windows System. We'll also quickly talk about creating projects that will be used in Visual Studio Code.
Let's first install the VS Code on the Windows System. It will require approximately 300 MB of free space.
Install VS Code on Windows
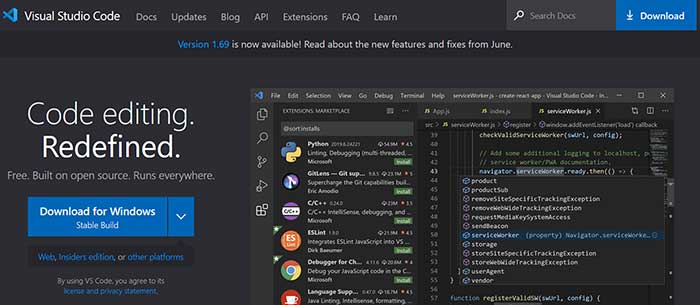
To get Visual Studio Code, go to the VS Code official website and click the big "Download" button. Below this button, there are further links for Web which runs the VS Code online, Other platforms to check the available downloads for all the platforms and Insiders edition to download latest prerelease version.
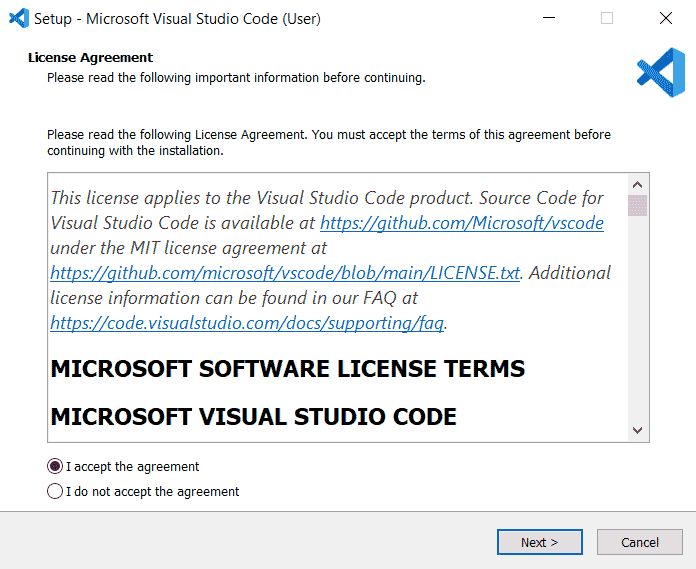
Run the installer after it has been downloaded. The steps to install VS Code on the Windows platform are as follows:
- First, We must accept the license agreement.
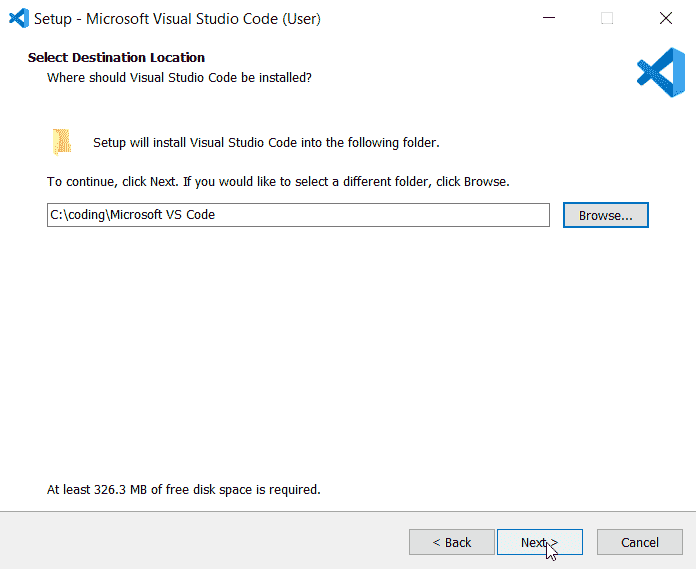
- Then, we choose a destination location. We can leave the default location or select a different folder.
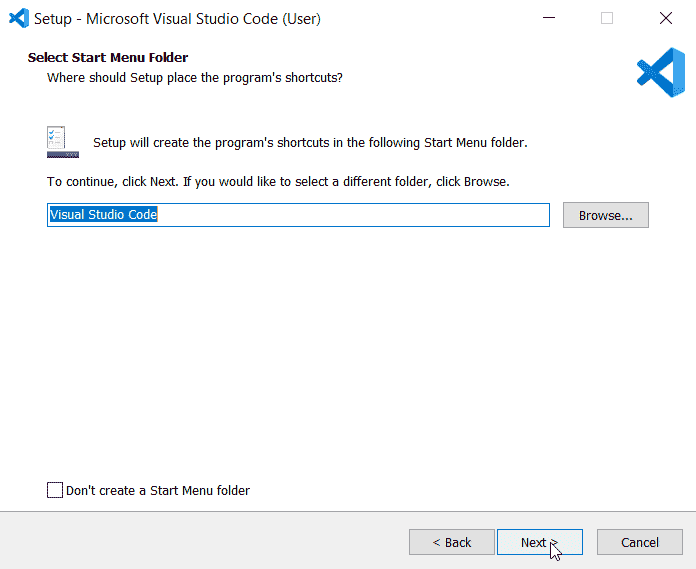
- Following that, we specify the location of VS Code shortcut in the Start Menu folder. If we don't want it, we select the checkbox located at the bottom of the setup window that says "Don't create a Start Menu folder".
- In this step, we specify which additional tasks the installer should perform. First, make sure that the checkbox is selected for "Add to PATH" (it is by default). That way, we can run the Visual Studio Code from any location path from the Command Prompt or the PowerShell.

I would also recommend adding a checkbox for Add "Open with Code" action to Windows Explorer for both the file and directory context menu. With these options, we can run VS Code directly from Windows Explorer by simply right-clicking on the file or folder and selecting the "Open with Code" option as shown below.

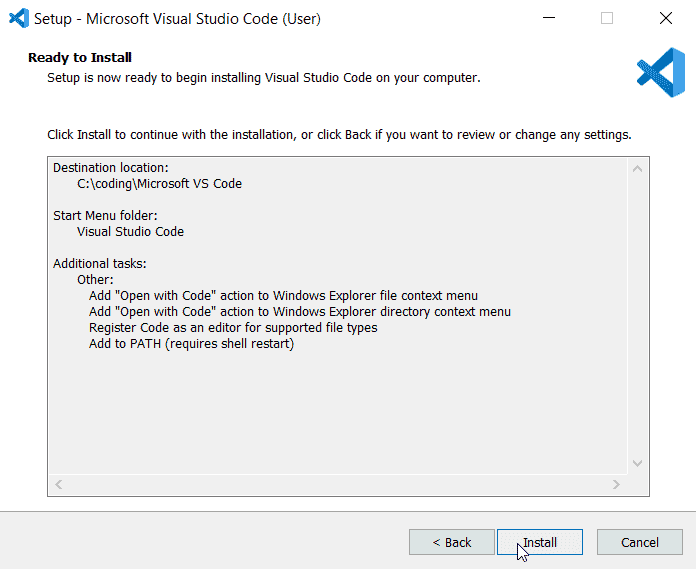
- Next, the window will show a listing of all of the options we selected in the previous steps. To begin the installation, click Install.
- The installation will now begin. After it is completed, click the "Finish" button.
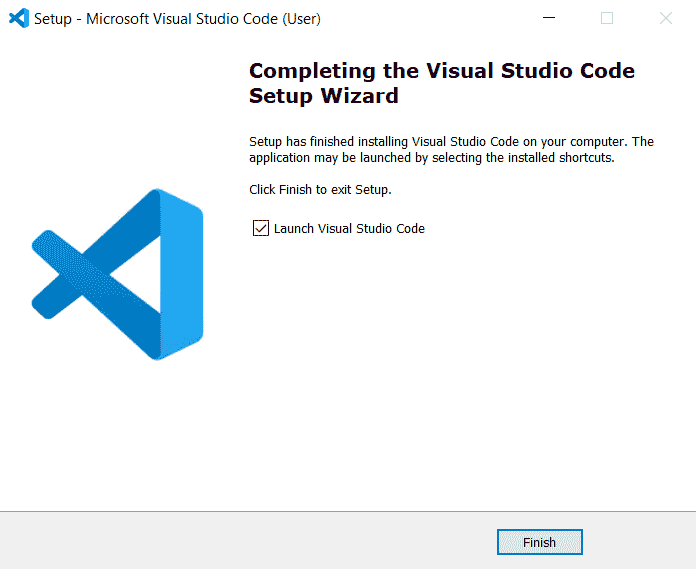
-
If we left the "Launch Visual Studio Code" checkbox selected, the VS Code will run and will look something like this.
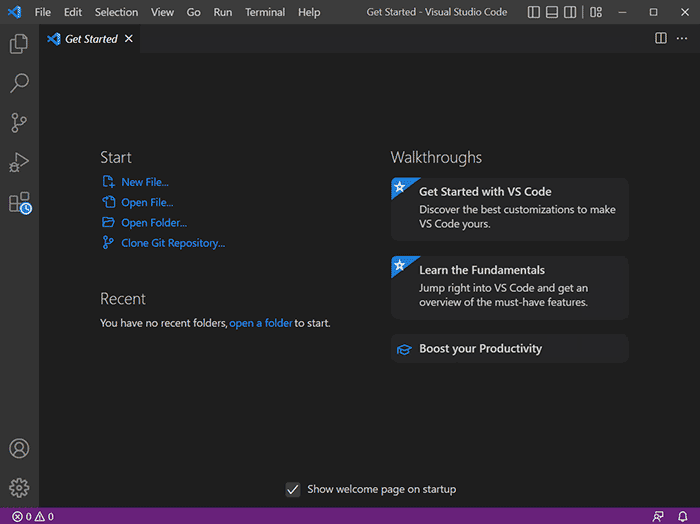
As shown above, we can open or create new files in VS Code, as well as open folders and clone Git repositories.
So, now that we have VS Code installed, what now? How to create a new project when there is no "New project" option in the code editor?
Creating projects
When working with VS Code, you will need to also work inside the terminal (Command Prompt or PowerShell in Windows). This is where we use language or framework-specific command-line interface or CLI tool to create new projects.
Once we have created a project, we open that project folder in VS Code.
VS Code language support
For JavaScript and TypeScript-related projects, the debugging and IntelliSense functionality is already supported in VS Code. For other projects, we might need to install specific extensions for those languages/frameworks.
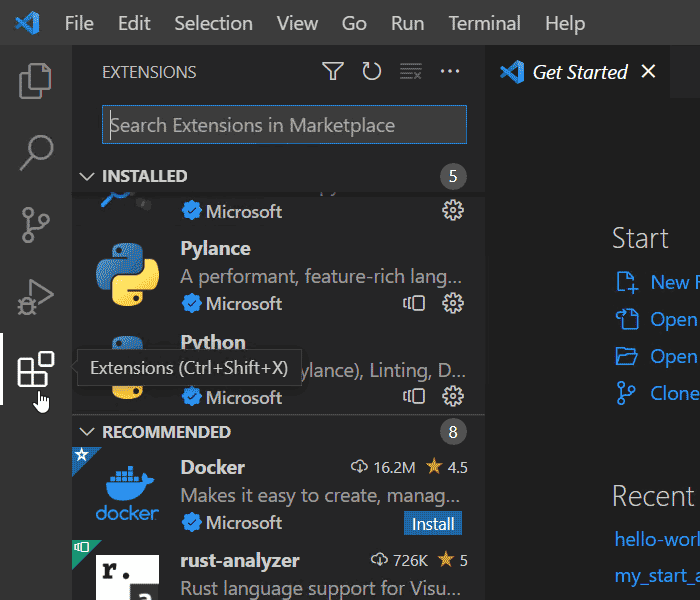
We install them by opening the Extensions View and looking for them in the Marketplace. Simply click on the big Extensions Icon located on the left side of VS Code as shown below:
Conclusion
In this article, we went through all the installation steps to install Visual Studio Code on the Windows System. Once installed, the VS Code allows you to create a new file, open the file or open the project. Unlike the Visual Studio IDE, where we have the "Create New Project" option, we create projects with VS Code using CLI tools in the terminal. Depending on which language/framework is used by the project, we might also need to install some additional extensions so that the VS Code can fully support it.
