Rust is a general-purpose, somewhat new language, similar to C++ that compiles to a machine code. In this tutorial, we will first install Rust on the Windows system, then check to see if the installation was successful. Finally, we are going to create a hello world app using both the rustc command and cargo package manager.
Let's begin by installing Rust on our Windows machine.
Install Rust on Windows
Go to the official Rust download page and look for the "Download rustup-init.exe" button. There should be two of them, one for 32-bit and the other for 64-bit systems. Download the one for your system.
Run the rustup-init.exe installer. The command prompt window should open.
-
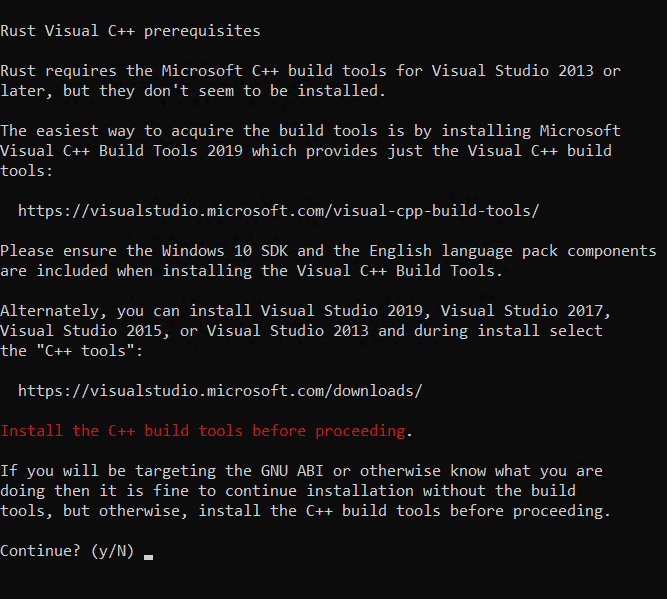
The installer will first check if your system has Microsoft C++ build tools and Windows SDK installed. If they are already installed, the installer will skip this step and start at step 2. If on other hand your system is missing them, you will get the message as shown below.
We can install the missing tools after installing Rust, so when asked to Continue? (y/N), press y and hit ENTER.
-
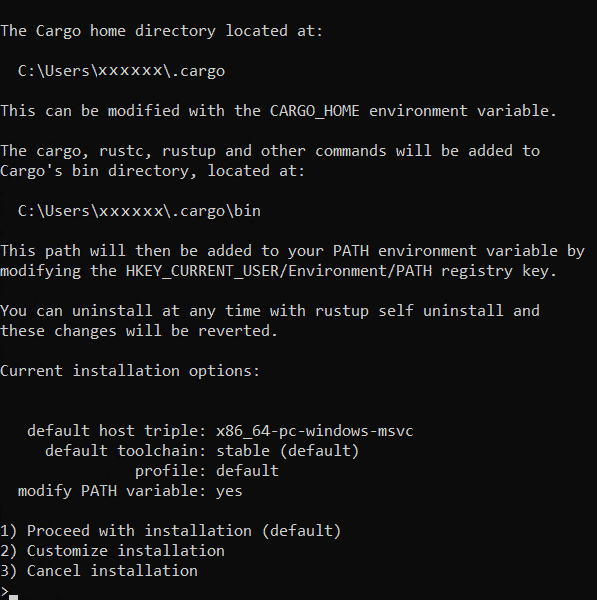
Next, the installer will display current installation options and provide you with the following:
1) Proceed with installation (default)
2) Customize installation
3) Cancel installationFor our purposes, the 1) (default) will be enough so type 1 and hit ENTER.
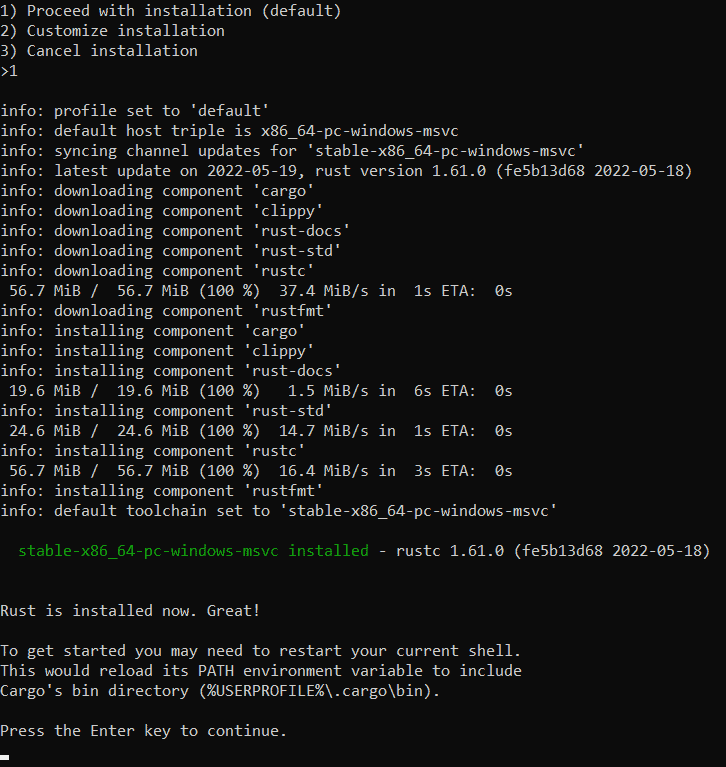
- The installation will now begin and you will be able to see the components that will be downloaded and installed. When the installation is finished, hit ENTER to close the installer window.
Install the required Visual C++ build tools
As explained earlier at the beginning of the previous section, simply having Rust installed is not enough to compile Rust code. We still require the following components to be installed in our system:
- Microsoft Visual C++ compiler
- Windows SDK
If the installer skipped step 1 in the previous section, your system already contains the required components, so you can jump to the next section.
However, if those components are missing, we get the following error during the compilation of rust code:
|
= note: program not found
note: the msvc targets depend on the msvc linker but `link.exe` was not found
note: please ensure that VS 2013, VS 2015, VS 2017, VS 2019 or VS 2022 was installed with the Visual C++ option
error: aborting due to previous error
We can install the missing components in two ways. Using either the Visual Studio or the "Microsoft C++ Build Tools" product.
Let's first start by looking at how to install these two components, when we don't have Visual Studio installed in our system. If you already have the Visual Studio installed, skip to the next section.
Using Microsoft C++ Build Tools to install the missing components
We will install the most recent versions of the missing components, which are currently "MSVC - VS 2022 C++ x64/x86 build tools" and "Windows 10 SDK" using the Microsoft C++ Build Tools. The steps are as follows:
- Go to the Microsoft C++ Build Tools download page and click on the "Download Build Tools" button and run the
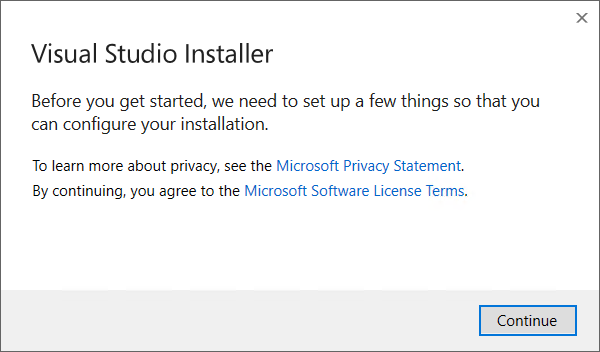
vs_BuildTools.exefile. - A "Visual Studio Installer" pop-up window should appear with a message that it needs to set up a few things so you can configure your installation. Click on "Continue".
- This will install the Visual Studio installer. After it finishes, we should be able to see all of the available Workloads that are available for installation.
- We need to install the "Microsoft Visual C++ compiler" and the "Windows SDK" component. We could look for them under the "Components" tab, but the quickest method is to choose the "Desktop Development with C++" workload. This will select the necessary components required for Rust and a few other things. You can see what will be installed in the "Installation details" section on the right side.
Click image to enlarge
- Now click on "Install" button on bottom right corner to install the selected components. When it is finished, you should see the message "Done installing".
Using Visual Studio to install the missing components
This method is intended for users who already have the Visual Studio IDE installed. The steps for installing the necessary components for Rust compilation are nearly identical to those using the Microsoft C++ Build Tools. We also make use of Visual Studio Installer.
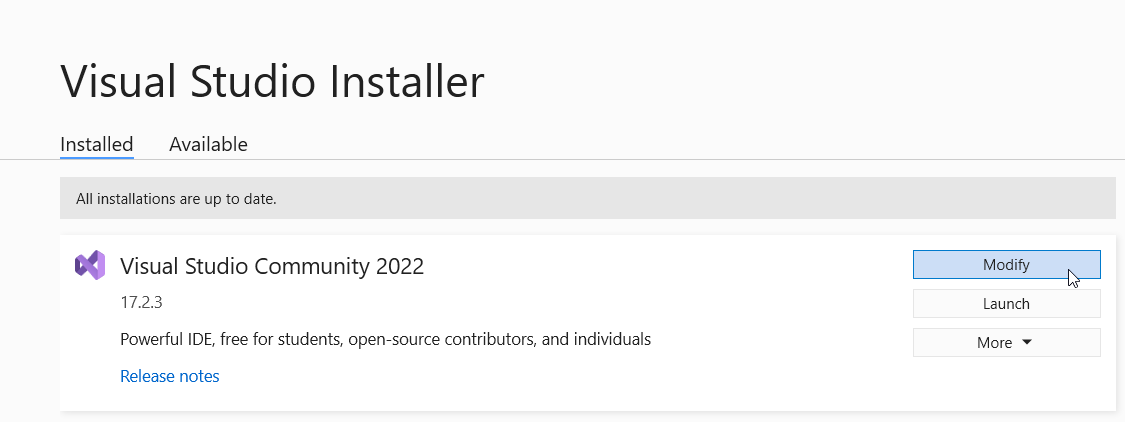
- Search for "visual studio" or "installer" in the taskbar and launch the Visual Studio Installer.
- The "Visual Studio" product should be listed. Click the "Modify" button as shown below.
- You should see workflows available for download, same as we did with the Microsoft C++ Build Tools earlier.
- We need to select the Desktop Development with C++ workload. This should among other things select both the latest MSVC which currently is MSVC - VS 2022 C++ x64/x86 build tools as well as the Windows 10 SDK.
Click image to enlarge
- To install the selected workflow, click on the Install or Modify button.
Testing the Rust installation
To test if the Rust installation was successful, open either the command prompt or PowerShell and run the following command:
This should return the version of the Rust that was just installed.
Creating a simple hello-world app
Let's now use rustc command to make a simple hello world app. Create a hello.rs file somewhere on your computer with the following code:
fn main() {
    println!("Hello, world!");
}
Launch the Command prompt (cmd) or PowerShell, go to the location of the hello.rs file, and run the following command:
If we now check the folder's content, we should see that the compiler built a hello.exe file. If we run it, it will display a hello world message on the terminal.
Using cargo tool
For simple scripts, using rustc command is fine, but in most cases, we would use the cargo command-line tool.
To create an empty project in the current folder, we use the following command:
This command will generate a simple "hello world" app, the same as the one we manually created earlier. The code will be located in src/main.rs file.
To compile the project, we use:
This will create a hello-world.exe file in the target/debug folder.
cargo build --release command.And to run what we built, we give the following command:
cargo run runs the project, it will also compile it if needed.Conclusion
In this article, we went through the steps to install the Rust programming language on the Windows system. The Rust also requires Microsoft C++ build tools and Windows SDK, which we installed using the "Visual Studio Installer" from either the Visual Studio IDE or using the Microsoft C++ build tools tool. Finally, we used the rust compiler rustc command and the cargo tool to create, build and run a simple hello-world Rust application.