Knowing JavaScript is more or less required when working with front-end web development. One way to learn JavaScript is to start with a simple web project containing an HTML page that uses JavaScript. So, the next question is which IDE or editor to use. In this post, we will create a JavaScript project in Visual Studio IDE. It supports JavaScript IntelliSense with auto-complete suggestions and debugging capabilities.
Visual Studio includes templates for many different types of projects, but if we search for "javascript" in the "Create a new project" window, there will only be two project templates listed:
- Standalone JavaScript React Project
- Standalone JavaScript Vue Project
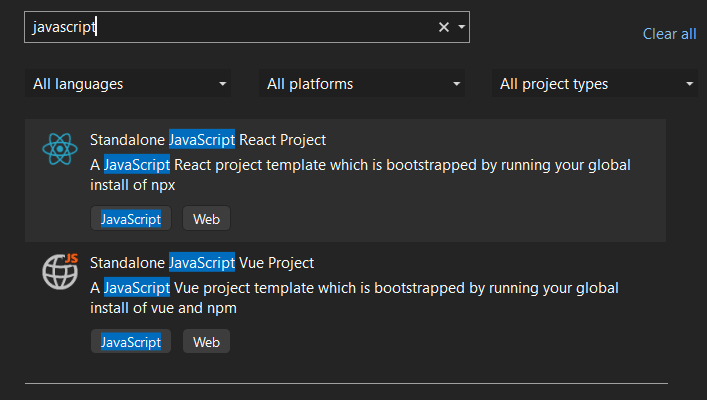
Those two are JavaScript libraries/frameworks for building user interfaces, but we want to create a simple web page that uses JavaScript code without relying on more advanced React or Vue frameworks.
We will start with a blank solution In Visual Studio. Next, we will add a "Web Site" project to the solution and populate it with an HTML page, a JavaScript file, and a CSS stylesheet.
Step 1 - Create a blank solution
To create a blank solution, we go through the following steps:
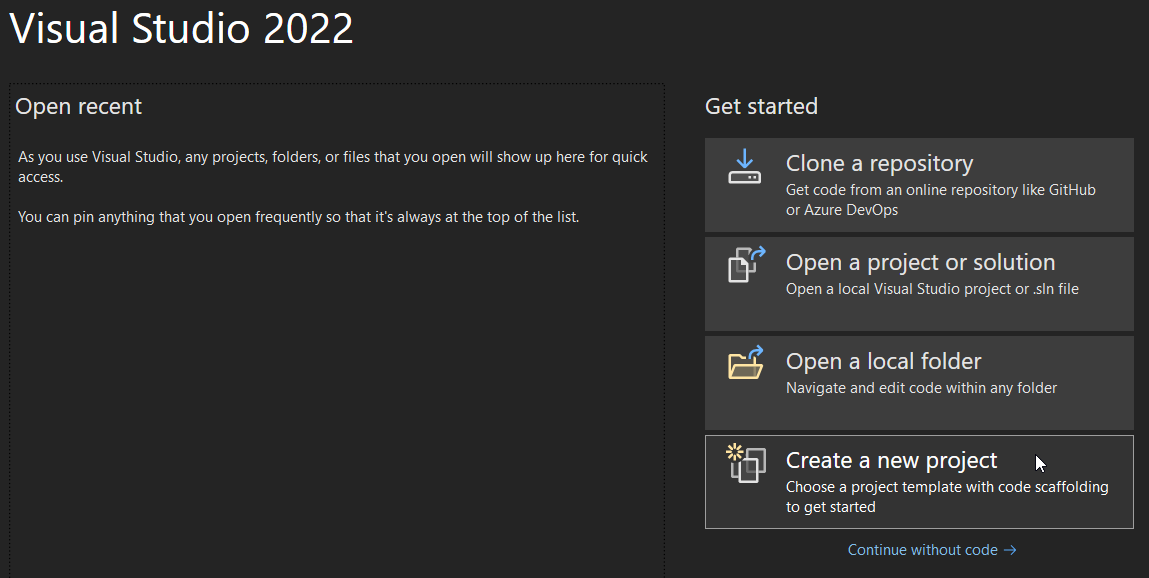
- Launch the Visual Studio and select "Create new project" from the starting page.
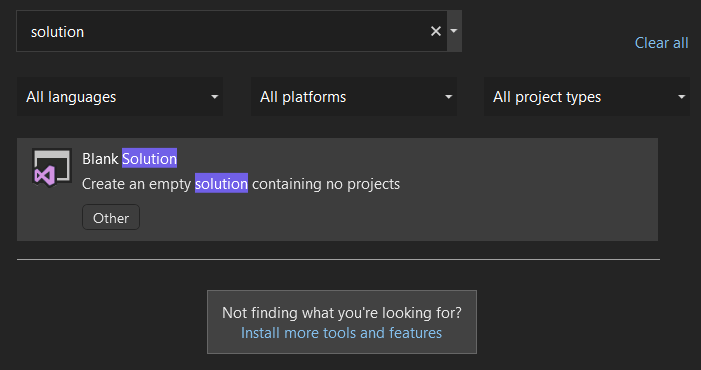
- The "Create a new project" window will appear, displaying a list of all available templates. Search for "blank" or "solution" and select the "Blank Solution" template.
 Click "Next" to configure the solution.
 - Give the solution a name and then click the "Create" button.
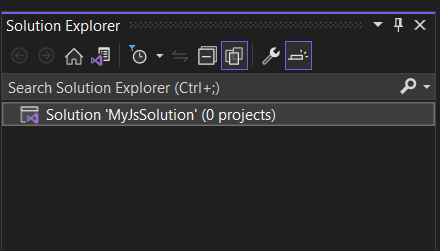
Visual Studio IDE should now create a blank project with an empty Solution Explorer.
Step 2 – Add existing Web Site in the Solution
In this step, we are going to add a "Web Site" that uses a local file system. The web site doesn't exist yet, but it will be created using the steps below.
- Right-click on empty Solution Explorer and select Add > Existing Web Site from the context menu.
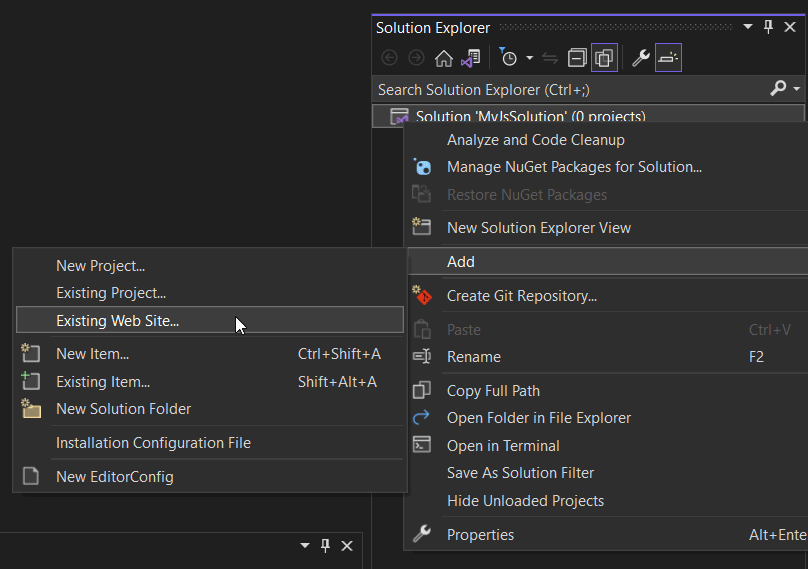
-
The "Add Existing Web Site" window will open. Select File System from the left sidebar. We select the location of our website project from the folder dialog. We can add it to our solution path, but this is not required. At the bottom is an input field that contains the path to the selected folder.
In the example below, we added the "MySimpleWebSite" at the end of the selected path. The
MySimpleWebSitefolder doesn't exist yet, but it will be created in the next step.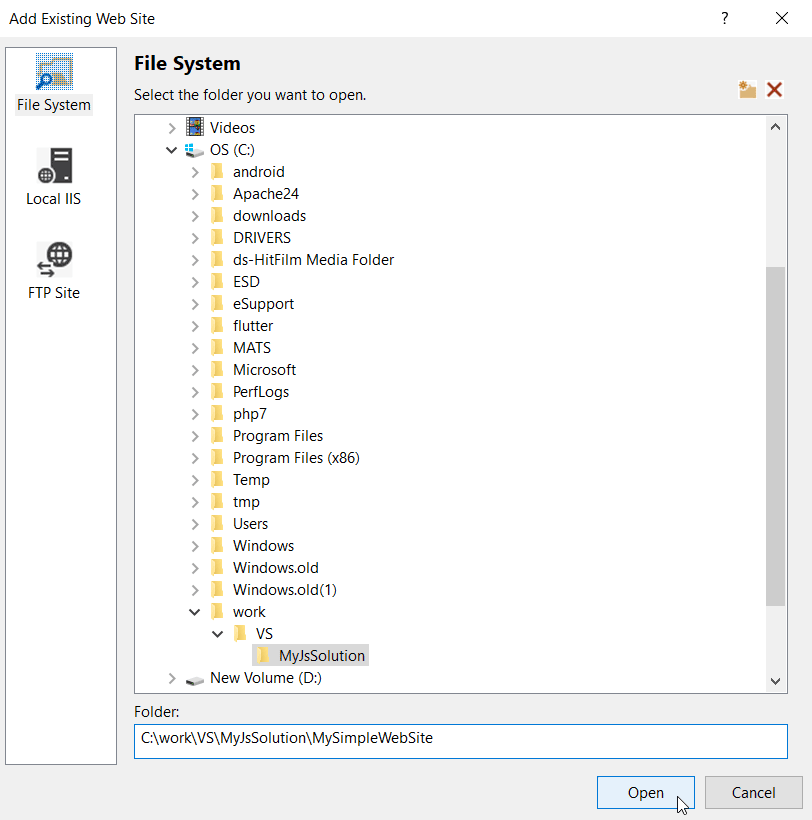
- Click "Open" and if the folder does not exist yet, it will ask us if we want to create it. Click "Yes".
- Visual Studio will add the Web Site to the current project solution. It might show us the "Target framework not supported" window and recommend we update to .NET Framework 4.8. Leave the first option selected and press the "Continue" button.

This will create a
Web.configfile in our project. We won't be using any .NET components, but we still needweb.configfile to have debugging enabled. It is set to "False" by default, but when we run the project with "Run with Debugger", Visual Studio will ask us if we want to enable the Debugging.Note: In some cases, Visual Studio might not createWeb.configfile at all, but when we first run the project it will ask us if it should "Add a new Web.config file with debugging enabled.". Click "OK" so we can make use of the debugging.
Now, let's start adding some files to our website.
Step 3 – Add new items to the project
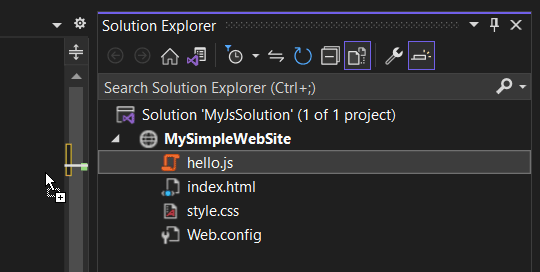
In this step, we will add three files to our project. Right-click on the website folder inside Solution Explorer and select Add > Add New Item as shown below:

This will open the "Add New Item" window from where we can choose the file type to add to the project.
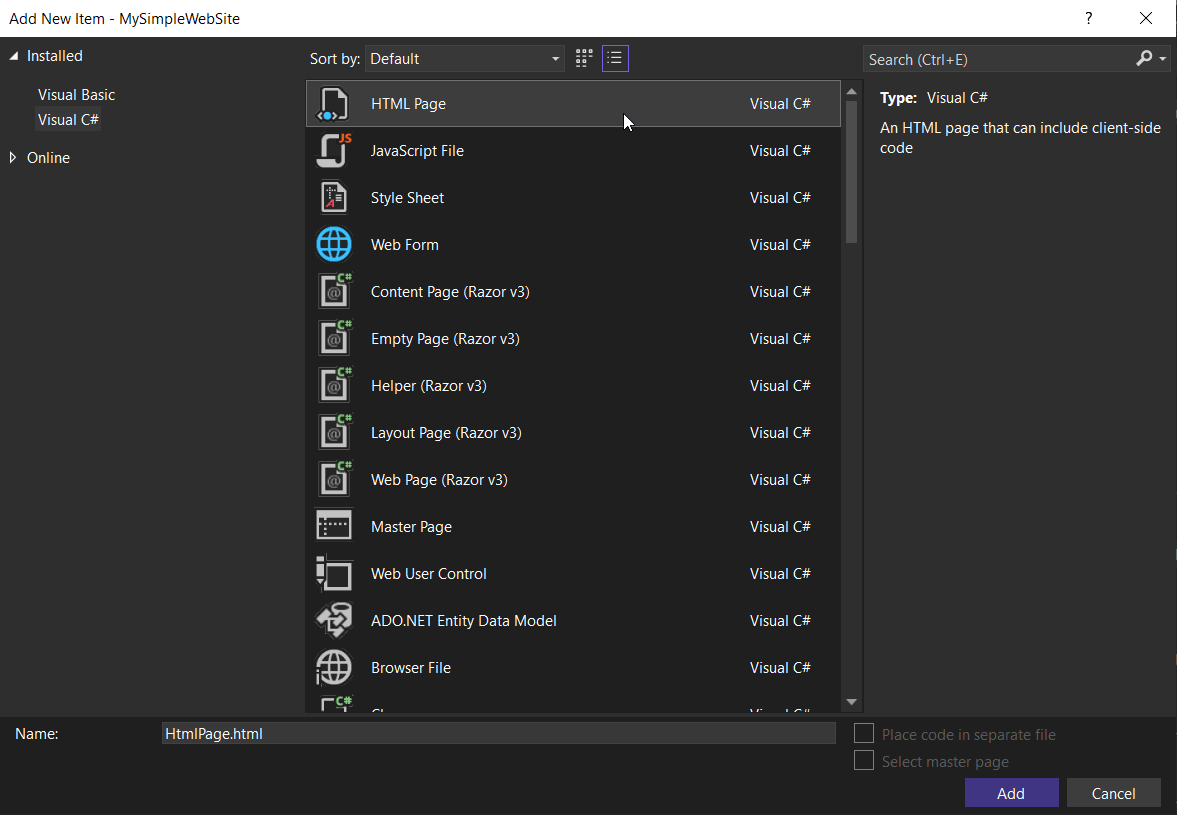
In our case, we need to add the following items:
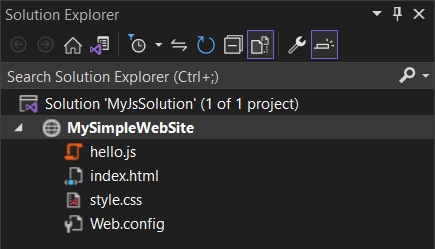
- HTML Page
Rename itindex.htmland click "Add". This is the HTML page that will open when we run the project. It will contain minimal HTML content. - JavaScript File
Rename the filehello.jsand click "Add". This is the JavaScript file that will contain our JavaScript code. Theindex.htmlwill need to reference this file. - Style Sheet
Rename this tostyle.cssand click "Add". We can add CSS rules here to style our HTML page.
After we've added all three files, our Solution Explorer should now look something like this:
Adding JavaScript and Stylesheet references to index.html
To make use of JavaScript and Stylesheet, the index.html needs to reference them.
We can add the necessary code manually or we can open index.html in the code editor and "Click+Drag" the hello.js and style.css files from Solution Explorer into the code editor.
For hello.js, this is what gets added:
<script src="hello.js"></script>
The above code should be placed before the closing </body> tag.
And for style.css, the following code is added:
<link href="style.css" rel="stylesheet" />
The above style.css code should be placed within the <head></head> section of the index.html.
Content of index.html
The index.html file should now contain the following HTML code:
<!DOCTYPE html>
<html>
<head>
    <meta charset="utf-8" />
    <title></title>
    <link href="style.css" rel="stylesheet" />
</head>
<body>
    <script src="hello.js"></script>
</body>
</html>
Step 4 - Running JavaScript Project from Visual Studio
If we run the project now (press F5 or go to Menu > Debug > Start Debugging), an empty webpage should open. All that is left is on customizing the HTML page to our needs and adding JavaScript code.
Below is an example of a simple web page that uses JavaScript. The user enters their name into the input field and the page greets them after they click the "Submit" button.
See the Pen
Very Simple JavaScript innerHTML Example by HowToSolutions (@HowToSolutions)
on CodePen.
Copy the content of the HTML tab to the index.html at the beginning of <body> section. The content of the JS tab should be copied into hello.js file and the content of the CSS tab into style.css file.
If we now run the project now (Menu > Debug > Start Debugging or F5), we should get the same result in a browser as shown in the above CodePen example.
Conclusion
In this post, we learned how to create a JavaScript project in Visual Studio that does not use a React library or the Vue framework. We started with an empty solution and then added "Web Site" to it. Inside it, we added an HTML page, a JavaScript file, and a Stylesheet file. Finally, we dragged both the JavaScript and Stylesheet into the index.html page, so that the HTML page references both files.


Evan
October 13, 2016Hi, I'm trying to improve my JavaScript skills, and this tutorial is very helpful. There's one part I don't quite understand though:
I've tried it without this code, and it doesn't work as I'd expect it to, so this code is obviously doing something; but what exactly it does is still unclear to me. Why don't we want the enter button to simulate a "submit" event? Isn't this exactly what clicking on the "submit" button would do? Why do the two mechanisms work differently without the above code?
Thanks a lot!
admin
October 13, 2016Hi,
I'm glad you have found this tutorial helpful.
The reason for avoiding submit behavior is that this would submit the form and then reload / refresh the page, which is not what we want. We don't want to send the form's data to the server. We want to process that data using JavaScript on the same page.
That is why
<button type="button" >was used. It doesn't have any default behavior, so we can use the events of that button to call client side JavaScript code. In our case, we usedonclickevent to call ShowHelloMessage function.Helgy
March 7, 2017You solved my problem with VS, thx.
Naman
November 21, 2017How did you add the .css file
I used property but not getting same results
admin
November 21, 2017Good catch. I didn't mention anything about CSS. I have now updated the article.
Moller
October 14, 2020In the section "Debugging JavaScript with Visual Studio" you mentioned that JavaScript debugging only works in IE. Do you know if this has been fixed in the new VS 2019 version to use Google Chrome or MS Edge ? Thank you.
admin
October 14, 2020Hi,
I just tested it on Visual Studio 2019 and the debugging of JavaScript works on both Google Chrome and Edge, while it's not working on Firefox for some reason.
NewbieJSCoder
March 11, 2021Super helpful.
Jenny Craig
October 30, 2021Thanks for sharing this helpful post!
Jace Malloy
November 2, 2021I wanted a simple test-bed/sandbox, and this was exactly what I was looking for.
Layout and associated verbiage were well done.
Thank you. Much appreciated
--
Jace